Showing posts with label Tutorials. Show all posts

Monday, April 04, 2011

How To Have The BEST 8th Birthday EVER!

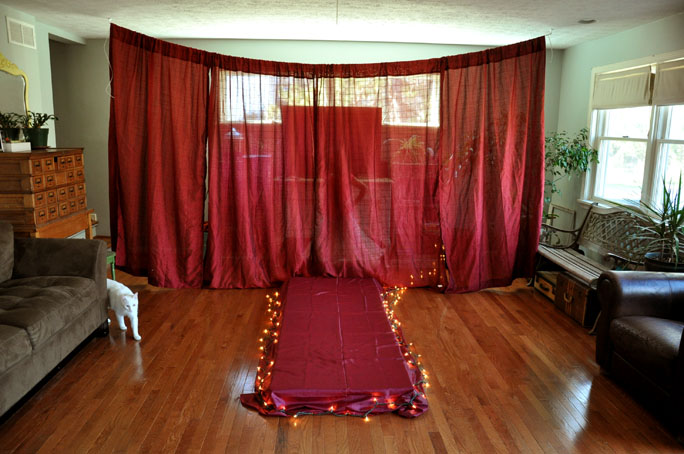
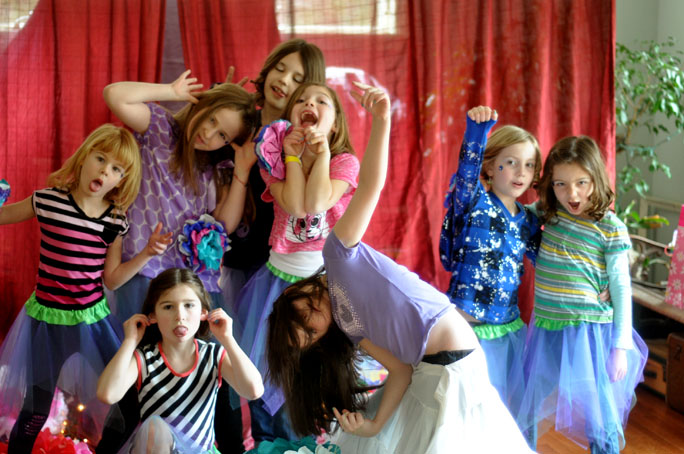
party runway 1

Step 1: Build a runway. Oh yes, the best "Sweet & Sassy" style parties MUST have a runway. Borrow curtains from a friend and ask Daddy to build a small platform. Cover it in fabric and the more twinkle lights the better. (You also might want to lock the cat in a room because they will attack the fabric and twinkle lights.)

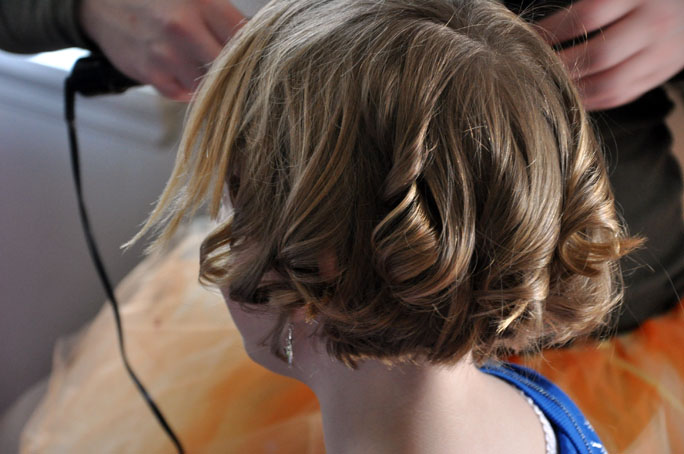
Step 2: Invite your friends, but also invite your Gee and Aunt Bonnie and Aunt Bonnie's friend Jenny too. This is very important. These girls got glamore skills and they will doll the guests up. Gee does nails, Jenny does SPARKLE make-up, and Aunt Bonnie will style everyone's hair however they wish. (special note: girls with straight hair will want theirs curly, and girls with curly will want it straight.)

party pooper 2
party girls 5
party girls 8

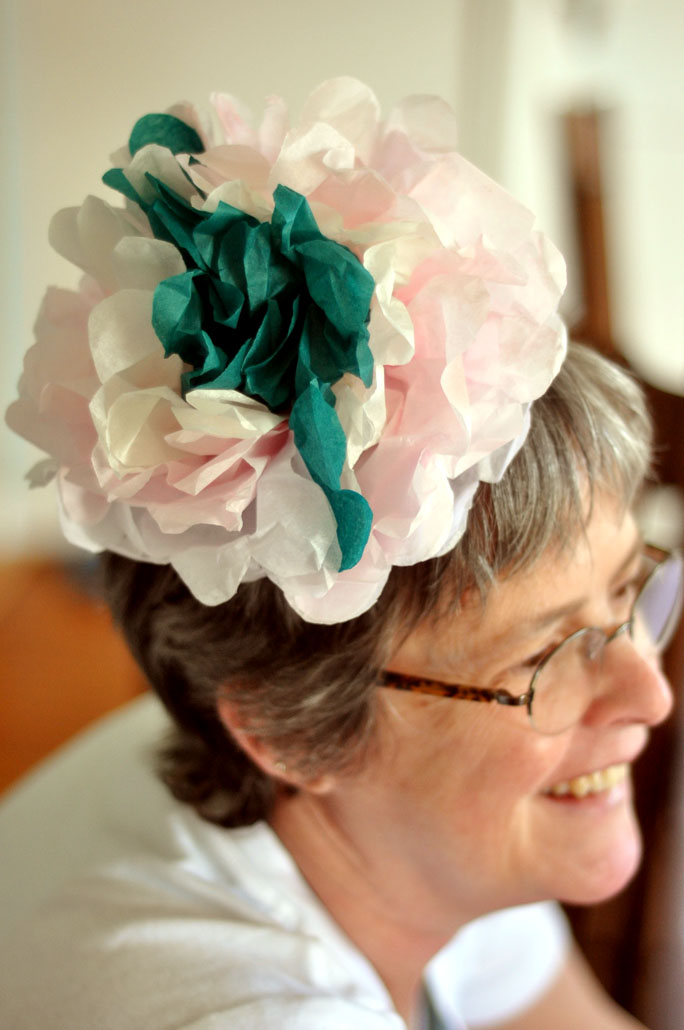
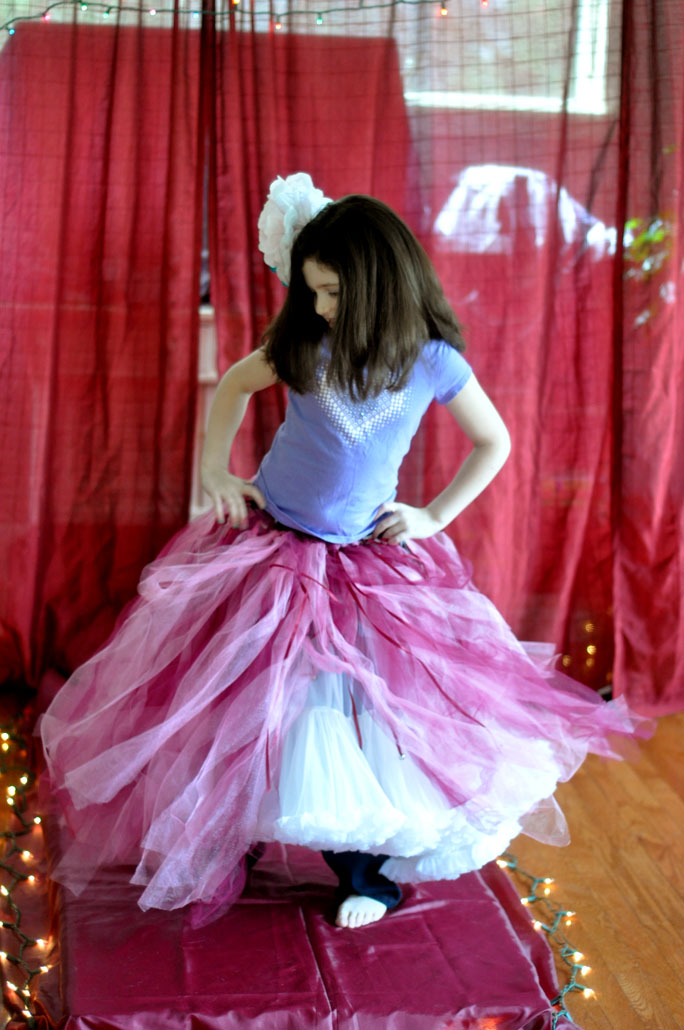
Step 3: Make fascinators for as your party craft and TUTUs are the awesome-est party favor. Okay, so the fascinators might not want to stay in your guests hair, but you can quickly turn them into corsages or add them to the waist band of your tutus.

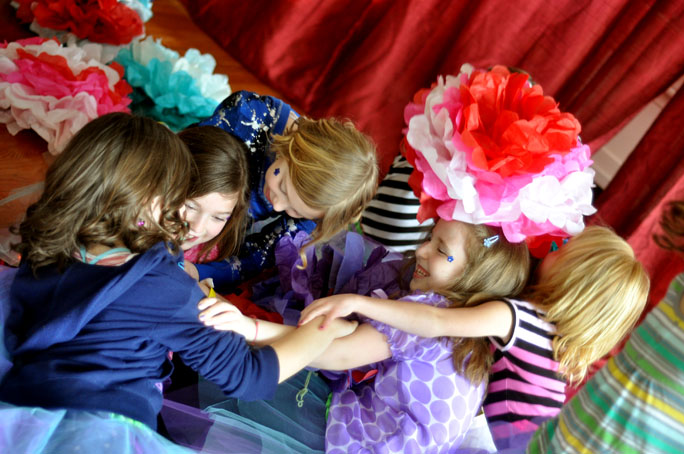
Step 4: Turn the DANCE station on Pandora and R.O.C.K.I.T.O.U.T!! OH YEAH!! (group hugs are a must)

party girls 2
party girls 15
party girls 22

Step 7: Choreograph a sweet show for the parents when the return at pick up time. And your group routine should have a conga line, best friend catwalk pairings, and individual pose striking too.

Step 6: Take lots of photos and video! A video mash up of the party photos and videos makes for a really special thank you note.

Wednesday, March 09, 2011

Mini Tutorial - Vintaj Style

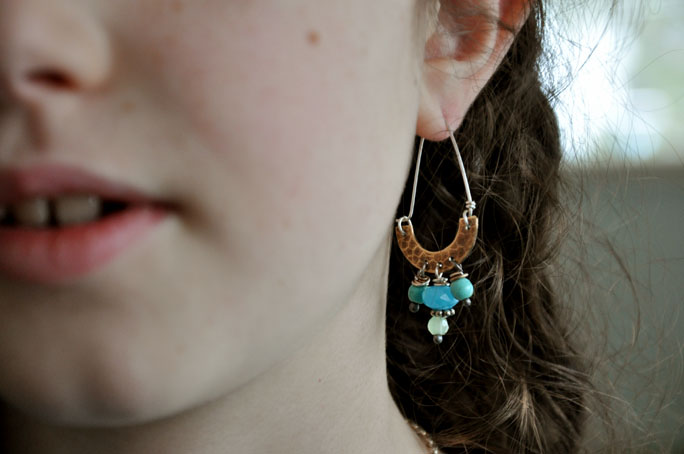
earrings 3

HOORAY!! Lauren found the earrings she lost!!

Jess over at Vintaj really loved the earrings I made for the recent Bead Soup Blog Party and wanted to share the project on the Vintaj blog. I was honored to share and wrote up a quick tutorial on how to make the earrings. Head on over to read how it is done!

Wednesday, September 22, 2010

A Typical Hump Day

unhinged beads 5
I have on my plate a very full "hump day". It is that middle of the week kinda day that has everything planned for it, and it is gonna be a p.i.t.a., but by the end of it, I will be one day closer to what will be an awesome weekend! Today, I am meeting with a potential new therapist for Andrew, I am getting my hair cut, meeting with Andrew's care coordinator, and then I have a football meeting for Jacob. I am doing all this today while nursing a very sore throat and stuffy nose (yep, I got the kids' colds, ugh). I am not complaining though. It is miserably dreary out, so naturally, my spirits are high and I am actually looking forward to the distractions of the day.

And, like I said, it means I am one day closer to Friday and the start of The Inaugural Event at ArtBliss. Today's beady photos are from kits I finished up over the weekend. The top photo is for Unhinged bangles!! If you want to hear a little about Unhinged's history, check out my February 2008 post about them! (It is one of my favorite posts I have ever written actually.) I call it up all the time, in my mind, and sometimes for others too. I was hoping to have 18 of these kits made, alas, the cold I have made is so I only have 14, but oh well. I can make more later. If by chance, any of the 14 are left post ArtBliss, it will be one of the new kits I release in the coming days!! Stay turned for that!!

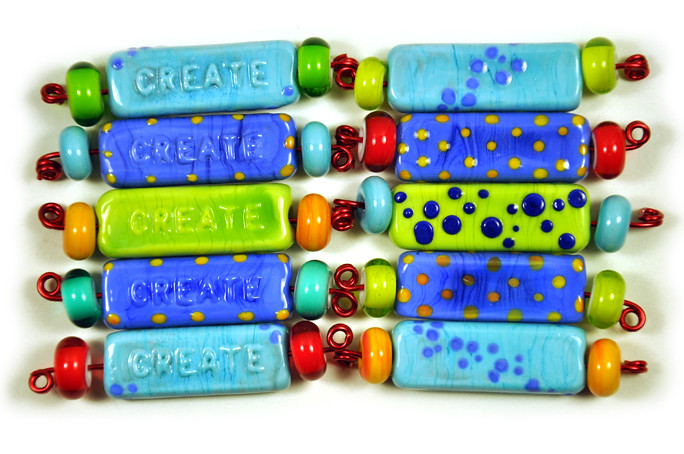
Below are beads for a completely new design. Well, not completely new, it is kinda a hybrid of a design with a twist. Can I tell you a secret? When I proposed this class, I knew I would make 3 bangles with my students, and I knew what 2 of them would be off the bat, but, um, I didn't actually figure out the 3rd design until last Friday. Yeah, potentially irresponsible of me as an instructor, but it all worked out in the end! The new design can be seen here: Sample Bangle. Not a very glamorous name, I know, but the ones we make in class with be called "Create-A-Bang". In honor of all the "create"ing we will be doing this weekend, each student will have a "create" bead as a focal and I hope it becomes a sweet keepsake from our time together. The construction for it is actually very similar to my 2006 design seen in the background of this bracelet grouping. Anyone remember those?!? Yep, that bracelet eventually went on to be "Sandy Lanterns", one of my earliest projects seen in Step By Step Wire magazine!! Now wasn't that a fun little stroll down memory lane!?!

What has you busy this fine Wednesday?


create bangle beads

Tuesday, August 17, 2010

Twisted Tuesdays - Bead In A Bead Hollow

Oh, what a wild ride it was to getting this video made for you. I attempted it several times yesterday and there were either kids horsing around in the background or spiders dropping down on my desk (totally not kidding, there is an outtake on Facebook, check it). So, I snuck down to the studio early this morning to have another go. I am totally okay with the fact that I am still in my pjs and my hair isn't washed. Whatcha see is whatcha get! HA! This is about bead making not how glamorous I look. I did quite a bit of editing, I realize when I babble and know where the delete button is for those parts. The whole process took about twice as long as the video shows (approximately 12mins). I wish I had a camera person to focus for me and zoom in on the important bits. Alas, it is just me and a make shift tripod. I hope you can learn a thing or two anyway!!


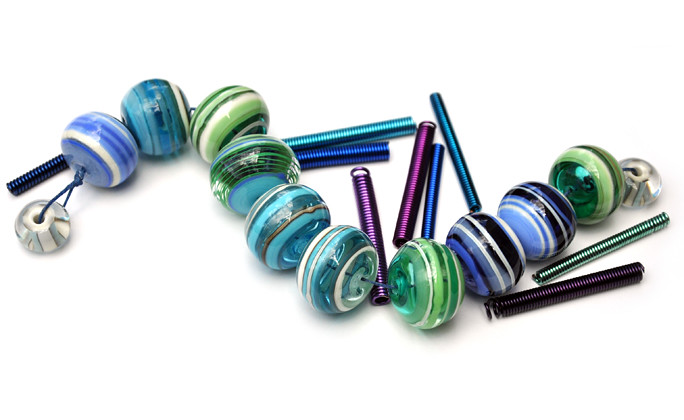
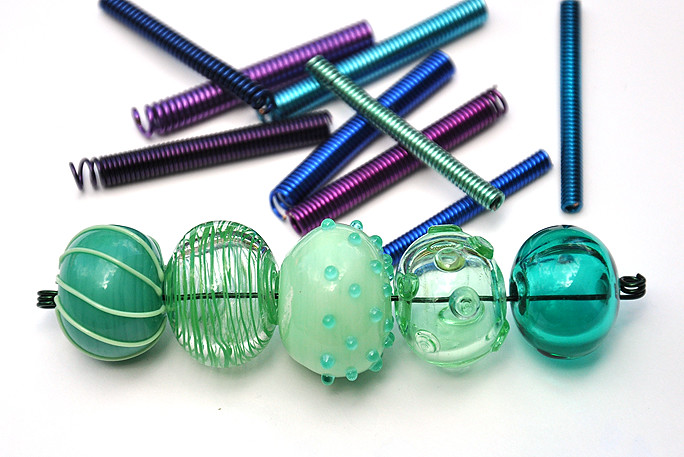
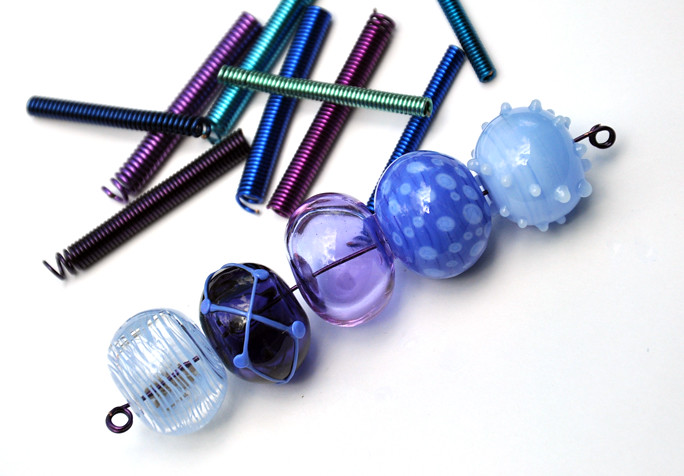
For those that don't make beads and have no desire to learn, here is some hollow beady goodness for you! Enjoy...

hollows 1
stripey hollows 2
green hollows
purple hollows
blue hollows

The blue set of hollows and the green set (SOLD, THANKS!) are still available it someone wants to snatch them up ($100 each set). The stripey ones, the purple, and the green sets have sold (THANK YOU!!).

Wednesday, July 14, 2010

Newsstand Goodies


There are a couple of new magazines on newsstands right now that I want to point y'all to. Both feature my work, as well as the work of a few of my beady friends.

First up is the latest issue of Step By Step Wire Jewelry, Aug/Sept 2010. There is a special earring project of mine in this issue, but I will tell you more about that next week on Twisted Tuesday. Besides little ole me, you will can find a gorgeous mixed media project by my pal, Mary Jane Dodd. I also love Cindy Gimbrone's (of Art Bead Scene) lampwork glass headpin ring project. Flipping through this issue, I couldn't help but feel inspired by the overall look and feel of things. The colors are fantastic and the projects have been photographed beautifully.


Also out now is the annual special issue, Creative Jewelry. This 2010 issue holds 4 projects from me, each using simple stringing techniques with my glass beads. I love the flip-through quality of a special issue like this. When ever you feel like you have hit an idea brick wall, you can flip through this and, no doubt, you will be whacked upside the head with new things to make. Seriously. It is whack-up-side-the-head good!!

Later this afternoon, I will be listing the 4 necklace designs in Creative Jewelry on my website.

Tuesday, March 02, 2010

Twisted Tuesdays - The Wire

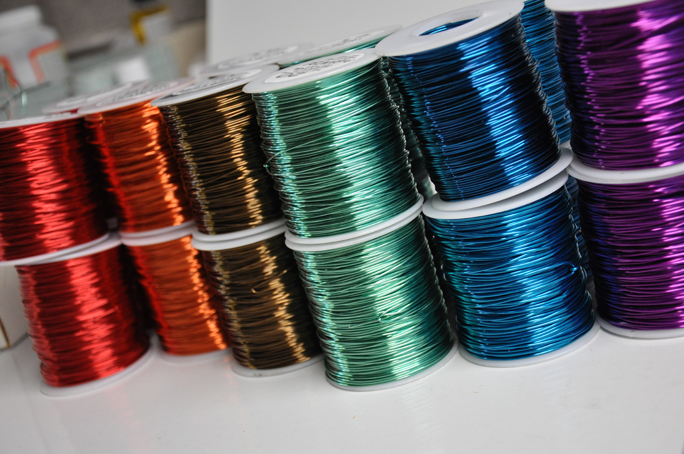
colored copper wire love 1
I thought the best way to kick off "Twisted Tuesdays" would be to talk about WIRE! My book, Totally Twisted, is a wire book, you know, and the question I get asked most these days is "where do I get that colored wire?". Today I'll answer that question, I'll tell you about my favorite colors, the gauges you should have on hand, and I will give you a few pointers on working with colored wire. Then at the end of the post, you can check out my latest piece, Memory Cascade, that uses this lovely stuff.


Parawire, Parawire, Parawire! The Paramount Wire Company is the place where I get all my colored copper wire. I should start by saying this: Parawire does not pay me to use their wire, and I don't receive any incentives for telling you to shop with them. When getting ready to write my book, I did contact them and they graciously agreed to donate the wire I needed to create the book projects. I had already been using their wire for a couple years at the point and I knew it was going to be the wire I used for the book. Why? Well, lemme tell ya. I have tried a few of the other "craft" wires and none compare to the quality, for me, to Parawire. The variety of colors is wonderful, the durability of the wire is fantastic, and the cost is very reasonable (a 50ft spool is less than $6).

Okay, so you found the website you need to get the wire you want but what next? What do you fill your cart with? They have all the colors and all the sizes, but which ones do you need? I don't like telling you "get this color". Just because I love the color doesn't mean it is your favorite. You know what you like! Hone in on that. Focus on your favorites. What do you find yourself using the most in your own work? Some of my favorites to use are: Neon Peacock, Neon Amethyst, Vintage Bronze, Outrageous Orange, and Teal. Yeah, I am a "blue" girl, but I held back and didn't add Neon Flag Blue, Neon Baby Blue, and Seafoam to my list of favorites (they are on the list though). Really, you can't go wrong, all the colors are great... except Antique White and Ultra White, I don't care for those. The sizes I use most in the book are 18g and 20g (and 22g for one project). A 50ft spool is more than enough for most projects, and should actually get you through a few of them!

I commented on how durable the colored copper wire is that I use in my book, but how durable is durable? right? Well, this anodized coating, unfortunately, is not indestructible. There are times, no matter how hard you try, that the coating is going to become marred. I do have a few tips for you to help you avoid it though. First, I am not sure if you noticed it or not, but I rarely ever use colored wire for a "link", meaning I try to tool it as little as possible. If I was using round nose and chain nose pliers on it, that is going to be the fastest way to scar it. One slip of the pliers when your grip is too tight and you are gonna have a problem. So, think coils with a "core" wire that is not coated that can be manipulated without worry. Second, if you become brave enough to move past coils-only, you can hammer color copper wire! I would stick to the chasing end of your hammer (large flat side) and keep your strikes true. Commit to the hit, and it will flatten nicely without damaging the surface coloring. Last, when making wrapped loops, keep to the smaller gauges (20g or smaller). The smaller the gauge the more malleable the wire is and the less work it takes to shape it... the less work, the less time the tools are in contact with the wire and the less likely the wire is to be damaged. One of the reasons I love Parawire so much is that I have found it the most durable I have worked with, other wires become damaged even when just coiling with them.

So, to recap... I love Parawire and it is what I recommend for creating the colorful projects in Totally Twisted. There are lots of colors to choose from, so look at your work and go with colors you know you love. I use 18g & 20g wire most often in my book. Finally, when working with colored copper wire, stick to coiling, or when "tooling" it use smaller (finer) gauges.
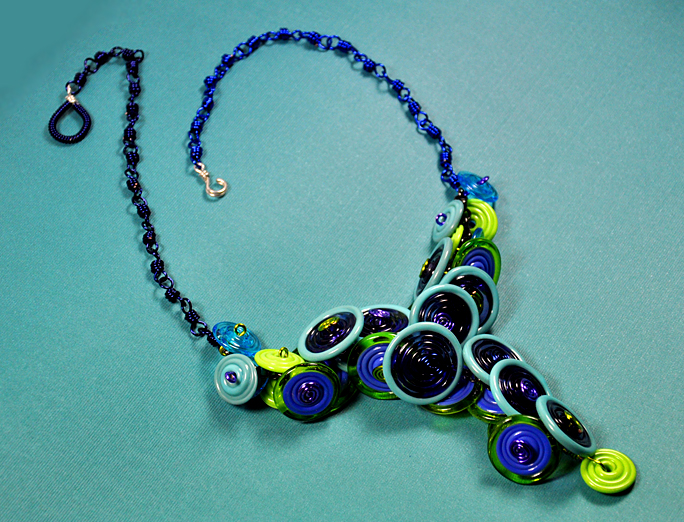
memory cascade

Thursday, February 11, 2010

Watch Me Make A Bead - Hollows!


It has been way way too long since I made a how-to video for y'all. So, here you go!
Watch me create a pretty blue hollow bead in just about five minutes.
Some things you should know:
1)Yes, I know my glasses sit low on my nose. Sorry, they are too big. Besides, I like looking over the top of them. It lets me see what I am doing.

2)To me, my voice sounds high pitched and nasally. Ugh... but oh well... that is me. LOL.

3) I did this in about ten minutes with so script or practice. I just did it. So if there is something I missed or questions you have, leave a comment and I will do my best to answer it.

Enjoy and thanks for watching.

Thursday, January 28, 2010

More Magazines To Grab

sbs wire latest issues

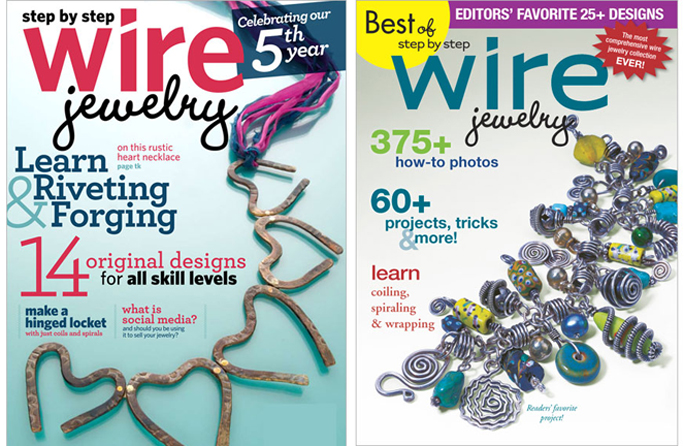
I am very excited to share these new publications with you!! First up is the lastest issue of Step By Step Wire Feb/Mar 2010celebrating their 5th year in print! SBS Wire shares some exciting news for wire loves in the letter from the editor. Now, instead of just 4 or 5 issues a year, they are upping to 6, YOO HOO!. So, this is the Feb/Mar 2010 issue and I have a project inside. On page 36, you'll find step by step instructions for my "Waste Not, Want Not" resin and wire bottle caps. Yep, the ones I showed you last week, only filled with wire instead of words.
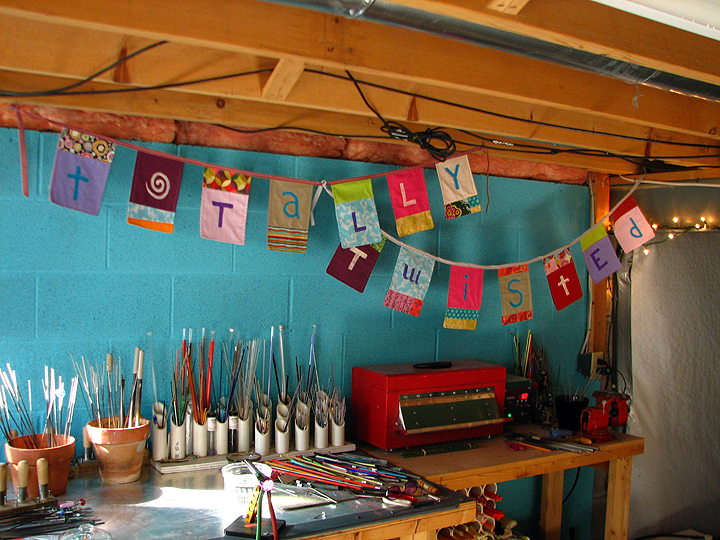
The Best of Step By Step Wire was a surprise to me! I was in Barnes and Noble, saw it on the shelf and said "hey? what's this?" Then flipping through the pages I found I have two projects in here!! How cool is that? I am honored to know that the editors of SBS Wire thinks two of my projects are in the top 25 of the last 5 years!! Honored!! The two projects are classics of mine... Berry Wineand Sandy Lanterns. If you have been on the fence about ordering either of these projects on their own, then definitely order the magazine. That way, you get both projects and 23 others!

Tuesday, August 11, 2009

... all on a summer's day ...

(aka... boredom busting project #2)

picnic basket project 1

Dear Mr. Warren Kimble,

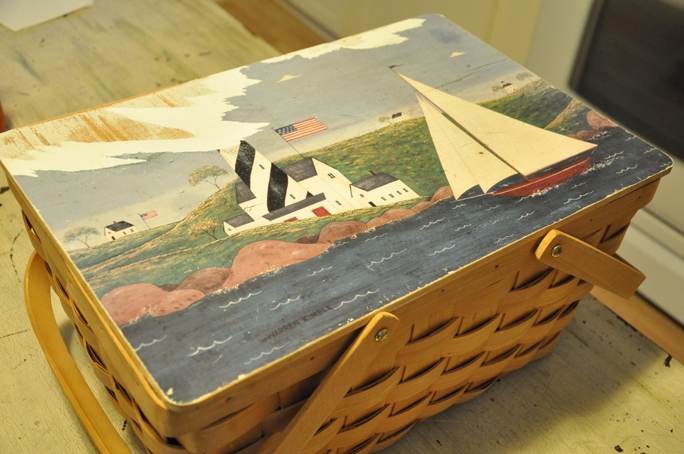
Several years ago, my Mom gifted me a lovely picnic basket with one of your folk art styled images on the lid. It is the one with a striped light house and sailboat on it. I have loved it over the years, it goes with our family on all our outings to the park. Would you believe, I even have the set of matching dishes and cups too? Though, some of the cups have cracked and some of the plates were used to make some resin art jewelry on. We still use, what we have left of them, when we eat out on the deck.

Anyway, I am babbling. I am writing this post today as an apology of sorts. From one artist to another, I am sure you can understand that not all people like the same thing. And while I can appreciate your unique New England style... light houses and sailboats, they just aren't "me". The other day, I decided to change up your picnic basket lid.

picnic basket project 2

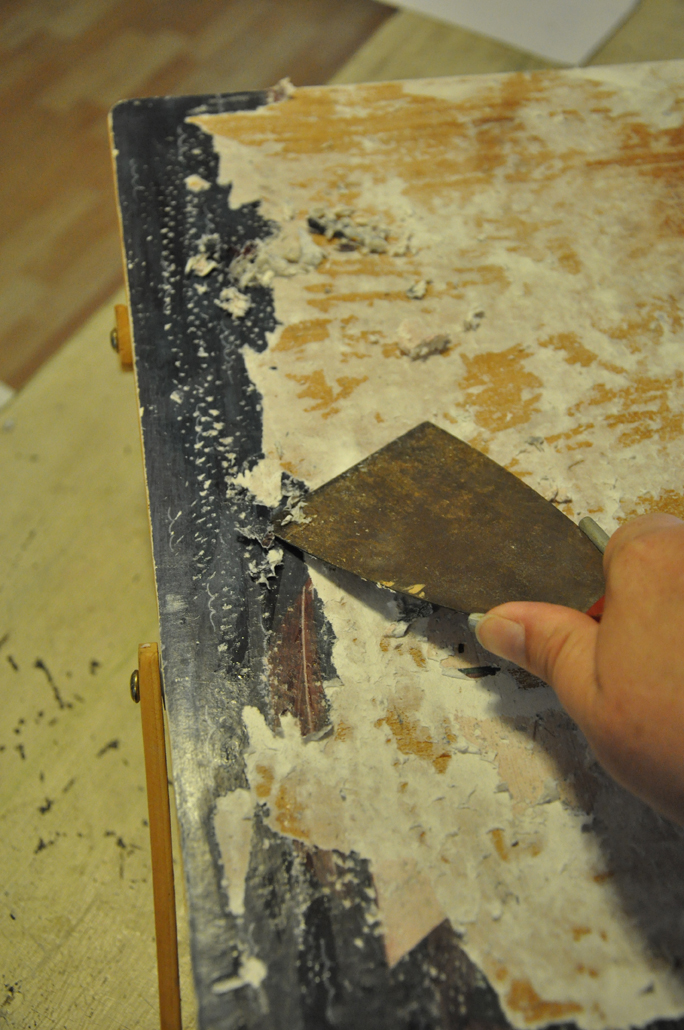
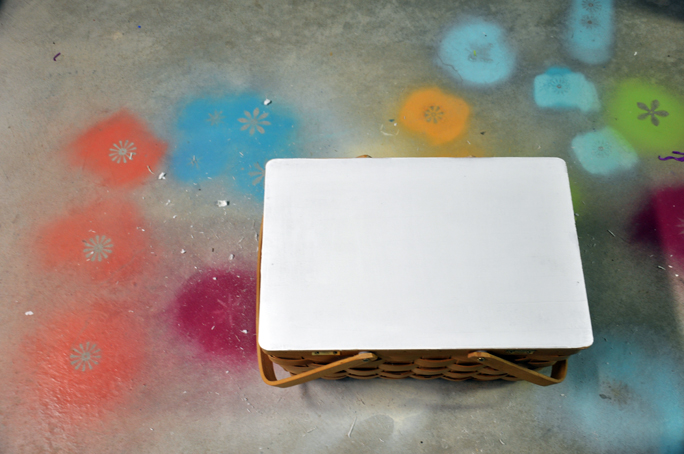
At first, I tried just peeling the paper image off, but props to your manufacturer, Mr. Kimble... it was really stuck down! I tried wallpaper remover, and a scraper, but finally, just had to pick and pick and pick at it with my nails. And then I sanded it and put down a layer of primer. The project ended up becoming so messy that I couldn't keep working at my small kitchen table, I had to set to work in my studio floor.

picnic basket project 4

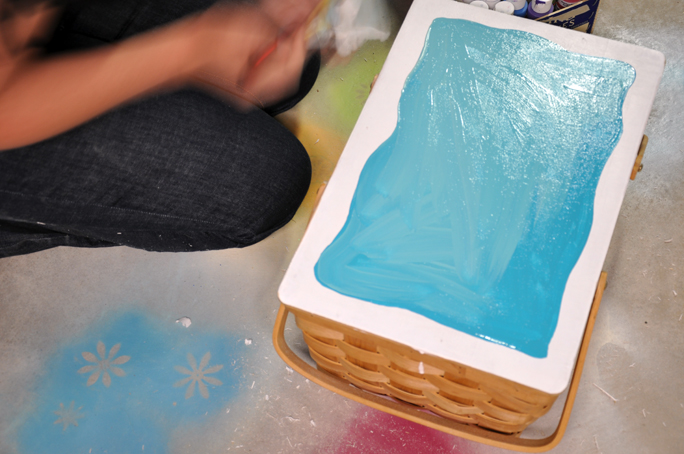
But what to do with that fresh, blank slate of a lid? I knew it needed some blue, it is my favorite color these days. And although I liked the rustic denim blue that you used in your seascape, I am more of a teal-blue gal myself. Mixed with a little cream and some seafoam green too. All blended together... *sigh*... is it such a wonderful color.

picnic basket project 5

picnic basket project 7

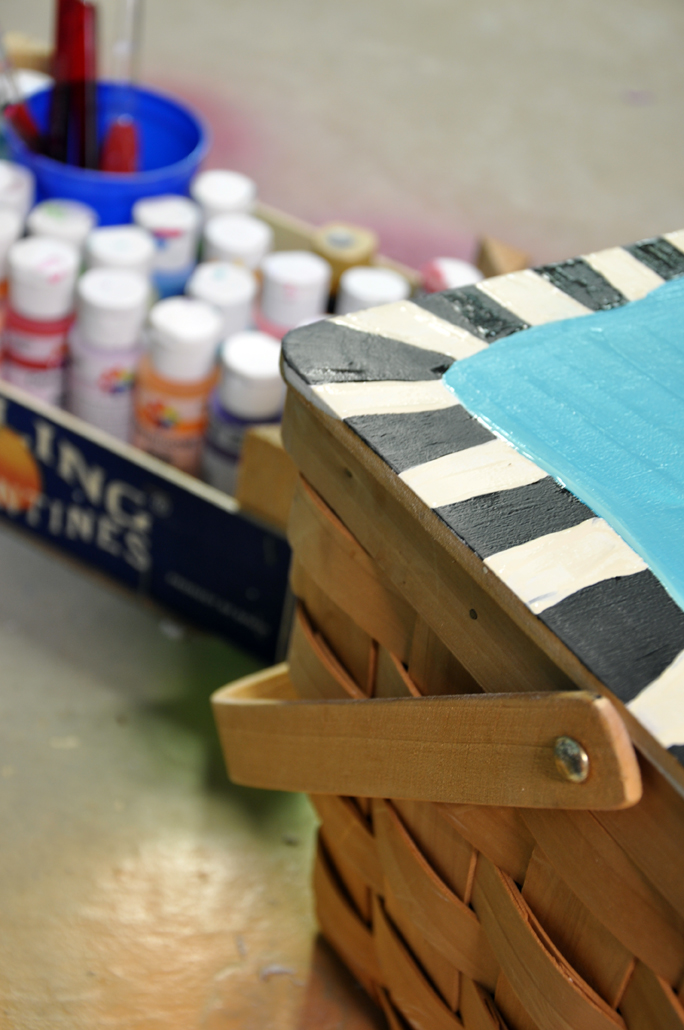
I doubt that you are familiar with my work, but I have been know to paint a project or two from time to time. And I love black and white stripes/checker boards. Hmmm, I wonder if that might be why my Mom bought me your picnic basket in the first place? The light house what striped! Surely, that must be why. Checkerboards are just plain fun, don't you think? They make me think of mid century kitchen floors and poodle skirts... and oddly, at the same time, I think of imaginary places too. Like... Alice In Wonderland.

I love the poem in Alice In Wonderland (the one with real people that aired on TV a while back with all those well known actors in it that I can't name at the moment... you know the one) where Jack is on trial for stealing the Queen's tarts.

It goes a little something like:

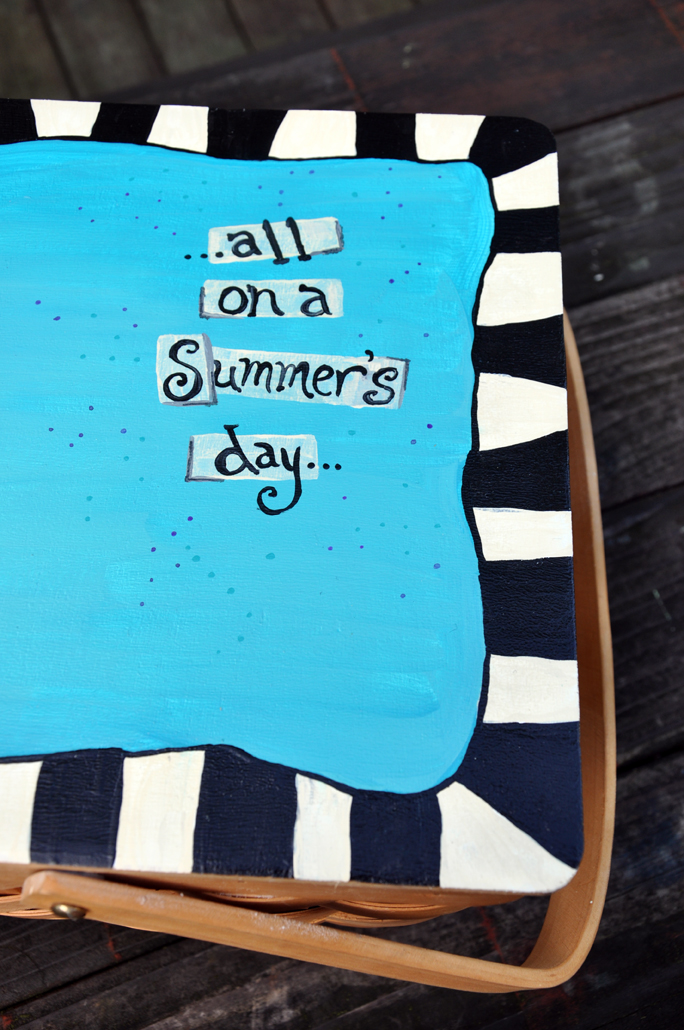
The Queen Of Hearts, she made some tarts, all on a summer's day...
The Knave of Hearts, he stole those tarts, and ate them right away...


As I finished up the edging on my basket, I knew I needed one of those lines on this lid.

picnic basket project 8

picnic basket project 9

So, no hard feelings right? It really was a nice basket before, but now... NOW.. it ROCKS! And it is so "me".

Sincerely,
Kerry

Monday, August 10, 2009

From The Side Of The Road

(aka... boredom busting project #1)

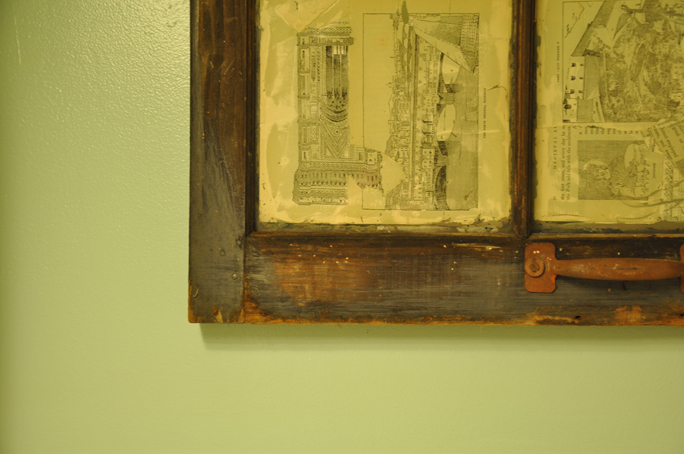
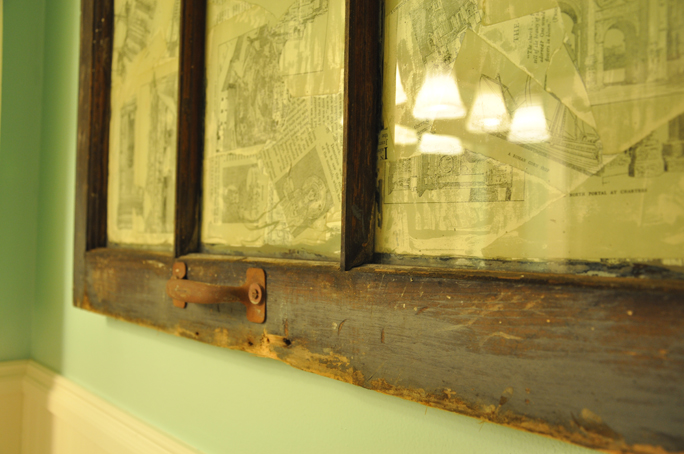
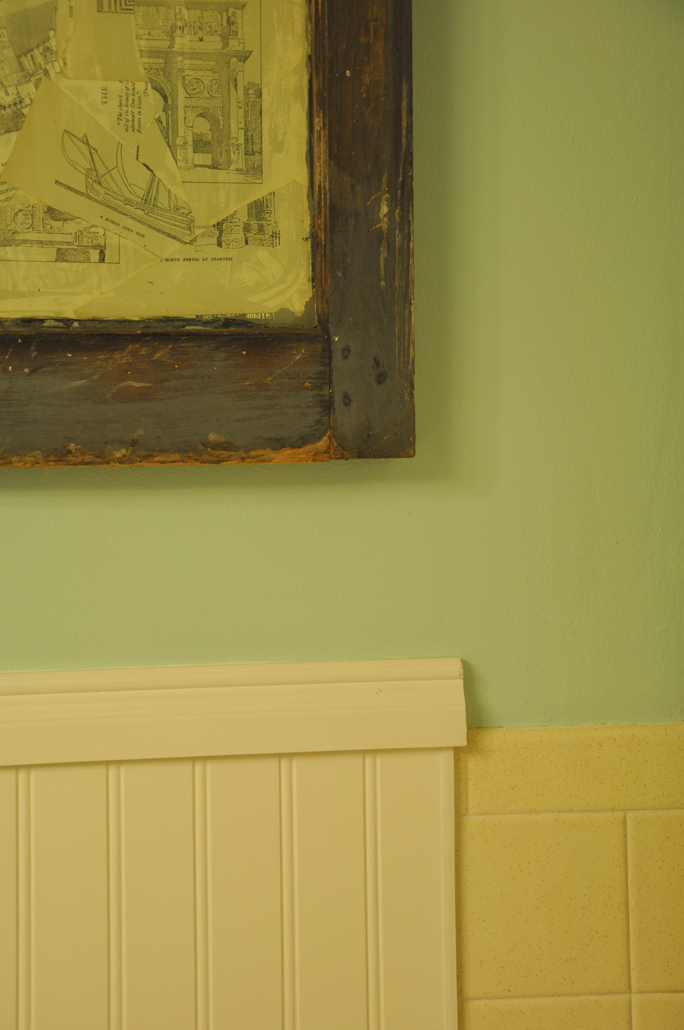
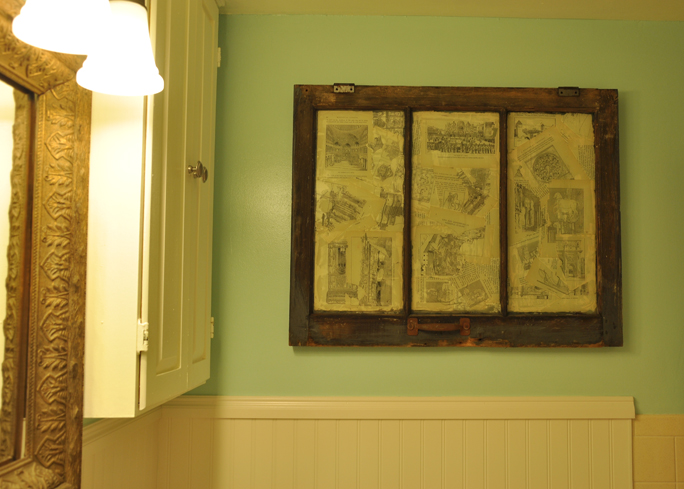
Today I bring you a cheap and easy project to combat an otherwise boring day. All you need is an hour and at the end, you'll have a really cool art project for any area of your house. My project, it got hung in the newly remodeled bathroom.

salvaged window project 3

What you need: 1 salvaged window left on the side of the road or found in some falling down old barn (my sister actually collects these to do paintings on, so I stole this one from her apartment)... price ZERO Dollars.

salvaged window project 4

1 old book with neat line drawings, mine is from an estate sale and is titled "Life and Adventure Medieval Europe" from 1936... price 25 cents. I grabbed this book from my collection of old books to recycle for this project because it was very yellowed. I wanted to bring more yellow into the bathroom to make it look like those old yellow tiles might actually be there for a reason. HA!

salvaged window project 5

1 jar of Modge Podge... you can get it at any craft store, and I consider this a negligible cost because I have used it on some many different projects.

What to do: Flip the window over so you are looking at the back. Coat the glass in a thin layer of modge podge. Rip pages from the book and tear them into large chunks. Lay the image side down on the modge podged glass. Add more modge podge to the back of the paper pieces. Roll out any bubbles that form. Let dry... then hang it up.

salvaged window project 6

This is just one way I filled by bored Friday. I will let you know what other project I worked on tomorrow.

Tuesday, July 28, 2009

Bead Fest Wire 2010

my desk again

Yesterday I received an awesome email asking if I might be interested in teaching at Bead Fest Wire in PA in April 2010. I am thrilled to have been asked!! And will be jumping at the chance to be at such an exciting wire event. I am scrambling to come up with class ideas and would love your help.

I had it in my head that with the release of my book, I would teach an intro to wire class, but unfortunately, I have heard intro classes don't do so well. Students like classes where they get to spend a few hours learning a new technique and leave with a finished project in their hot beading hands. I have a couple ideas for projects from the book that I can teach, but I was thinking I should come up with a few fresh things too. OR, I could teach some oldie but goodies. There are just so many options and very little time to get the proposal pulled together.

So... give me some ideas. From you, the future wire students, what would you like to learn! What projects have you seen me make that you would want to see available as a class or kit? Feedback people. I need it.

Monday, July 13, 2009

Beadwork Magazine Page 14

challenge beads 1

Almost two years ago I asked to be added to the wait list of bead makers featured in Beadwork magazine's "The Challenge". My time has finally come!! Check out the latest issue (Aug/Sept) on news stands to see SEVEN designs created by FOUR different designers using the beads above.

I made these beads back in February. In fact, I mailed them out on my birthday. I went with what I thought would be a different kind of summery beach combination of colors. I used ink blue, lavender, denim blue, turquoise, and swirled it all up with stormy gray. I was very into stripes and dots. I think the stripes are very "navy-ish" and the dots are very "under the sea". It works!

And the projects! They turned out so cool!! They all use seed beads, something I very very rarely see my beads paired with. They really are all too cool to pick a favorite.

challenge beads 2

Monday, July 06, 2009

Lickety Split Super Quick Beads

lickity split rings
(rings modeled by the lovely Lindsey... back in February when I wrote the article. forgive her winter ravaged skin. and she has tiny hands, that's why the rings look HUGE!)

The emails are rolling in like crazy since the release of the summer issue of Step By Step Wire. Everyone wants to know "where do you get those beads!?!" Those of you familiar with my work already know that answer to that one... I make the beads! I bet you are wondering if you can place an order to get beads to try this project out for yourself.

The answer is YES!!

For a limited time, I am going to be accepting orders for the "Lickety Split Super Quick" beads. The cost is $15 p/bead and the size of them is approximately 1 - 1 1/4 inch across. Shipping will be $3.50.

A couple of ground rules since I don't usually do orders like this. 1) You can pick the shape of your beads. (circle, square, triangle, ruffle) 2) and you can suggest the colors, BUT, I reserve the right to creative control over the color combinations. (Please don't tell me you want a green bead with a blue edge and pink dots... I'll get bored and I won't want to make them anymore.) 3) Turn around time is going to be about two weeks (unless I get more orders than I can handle, at which point I will tell you if it will be longer.)

If you can live with those rules, all you need to do to place an order is send me an email! Kerry (at) kabsconcepts (dot) com. I will respond and confirm your order. Then, I will send an invoice via Paypal. Once payment is received it holds your place in line to have the order filled. I will send you a photo of your finished beads before I mail them so you know just what to expect!!

Thanks to everyone for the wonderful response to this project!! Happy Beading!

Tuesday, June 30, 2009

Playing For Sweden

soccer girl
My Lauren had her first ever soccer practice/scrimmage yesterday. She has been waiting months for June 29 to arrive. And girl, oh girl... I should have signed her up years ago!! She is a natural. You wouldn't believe the ball control she has!! Seriously, it is amazing. And when all the other players bunch up in one spot, she hangs back and plays defense. She was so excited, she wore her uniform to bed last night. It's not the lovely outfit she picked out in the photo above, but rather it is black, white and red and her team is Sweden.

In case you are wondering how I did this half black and white, half color photo, it is done in photoshop. Easy as 1, 2, 3... First go to the drop down menu at the top click image>adjustments>hue/saturation... Next, in the new window that pops up, click the box next to colorize and drop the saturation down to zero... Last, select the history brush tool from the side bar (it is fifth one down and on the right in my version) and just "paint" over the area you want it color. It restores the color history for that spot, it is like magic!!

soccer stretching

So, yeah, the kids made up their own stretches, lol.

Thursday, March 05, 2009

A New Studio Accessory

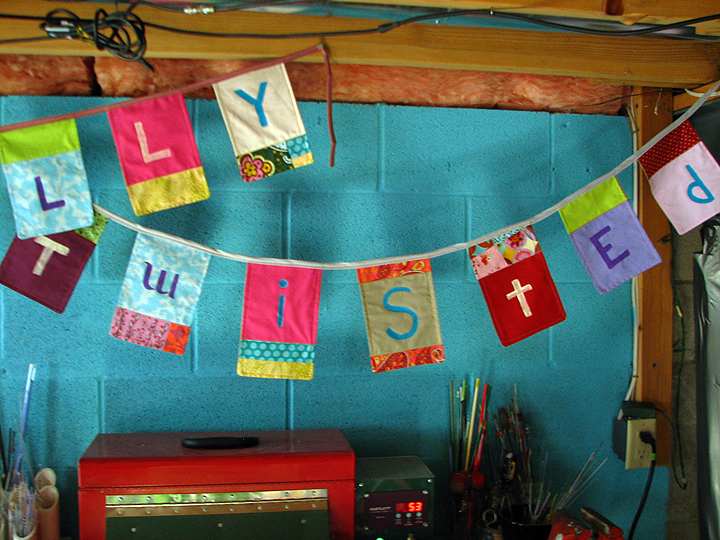
Totally Twisted banner in the studio


Yesterday I got creative in the studio in a different way then usual. I have been seeing what I call word-banner-flag-things all over the crafty blog web.

Here are a few I have seen:
Kelly Rae Roberts
JC Handmade
Beauty That Moves
Soule Mama

I knew I had to make one for the studio. "Totally Twisted" is what I call my 5 hour intro to wire class, and it is what I am hoping (fingers crossed, please, please, please) will be the title of my book. It is such a cool phrase (that I thunk up myself thankyouverymuch), I love it. It is mine all mine. Hey, maybe I better put a "Tm" after it? LOL.

It is an easy enough project to make and I threw together a quick tutorial for y'all. I don't know how anyone else makes these, and I am far from a master seamstress. I just winged it. I think these would be fun with an inspiration word like "bliss" or "create". I like mixing fabrics and colors and upper/lower case letters, but it would look just as cool if it was all the same fabric with the same text running across. I don't know exactly how much fabric I used. I did it a "stash buster" project just using up what I had around the house. (A while back, I bought an Anna Maria Horner Scrap Bag and it would be prefect for this.)

Without Further Ado..

Kab's Very Own Fabric Word Banner Flag Thingy


Banner tutorial step1


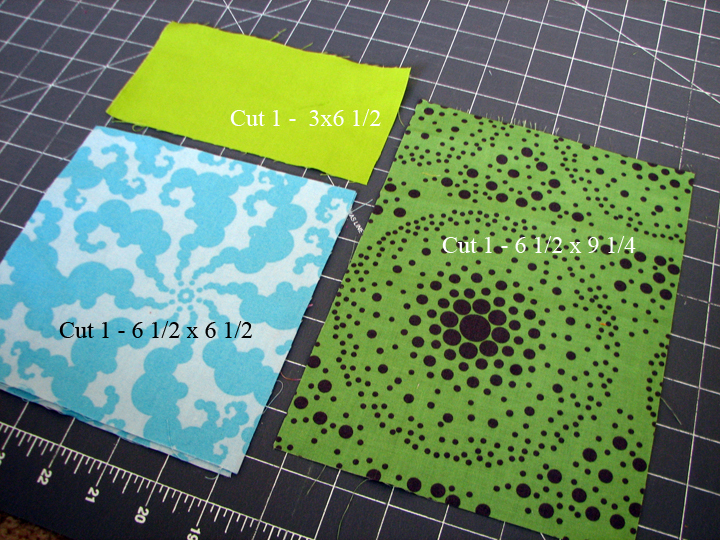
Step 1: You are basically going to make a bunch of little pouches. Straight line stitching people, nothing fancy. I made a plan ahead of time and knew I would need 14 flags for the letters in my words. You can do them assembly line style or one at a time. (I did 'em one at a timeand it too HOURS because my rotary cutter was about as sharp as a butter knife.) Cut three pieces of fabric (sizes to cut are on the photo above).


Banner tutorial step2


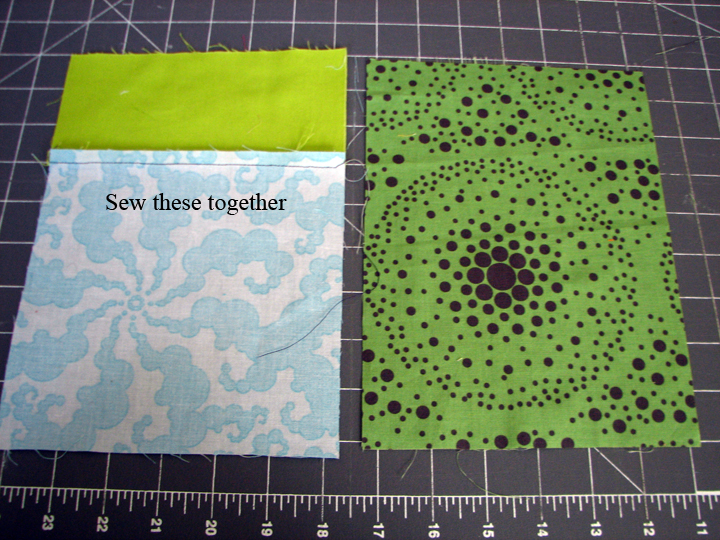
Step 2: With right sides together, sew together the two smaller pieces. This will be your "front". For the most part, all my letters are made on solid colors. This example has a patterned piece... if you want a pattern, make sure it is a light color and subtle so it is easier to paint and see the letter later on. Okay, the seam allowance is 1/4in (the outside edge of my presser foot). Be a good sewer girl and press your seams with an iron when you are done.


Banner tutorial step3


Step 3: Again, with right sides together, sew the front piece to the back piece. You only need to sew it on three sides, leave the top open. When you are done, flip it right side out and press it.


Banner tutorial step4


Step 4: You could leave the flag as is at this point, but I decided to add a little extra work for myself, um, I mean detail, by doing some top stitching. It is all machine done. I just went around the outside edge with a straight stitch then zigzagged the place where the two pieces were sewn earlier. This really is a stash buster project. I didn't worry about matching my thread to my bobbin. I ended up using whatever was in the machine... when my bobbin ran out, I just grabbed another half used one. Now I have three empty bobbins ready to be wound the next time I sew instead of 3 half full ones in colors I don't use very often.


Banner tutorial step5


Step 5: Keep on making the flags until you have as many as you need. I laid them out at I went so I could see how the colors were mixing. Have fun, move things around.


Banner tutorial step6


Step 6: Okay, I kinda skipped a step here, but well talk about the two steps shown in this photo. First, you need to sew the flags into some bias tape. Had it been a perfect studio day, I would have found two packages of black double fold bias tape in my stash, alas it was only a sorta good day. So, I ended up with being lucky enough just to find two packs of bias tape at all. Fold the tape in half to find the center and pin your center flap into the fold of the tape. Space the rest evenly along the tape and just sew a straight line down the bias tape.

Step 7: Now you can paint your letters!! I just used some acrylic paints I had in the studio. This isn't something that will be washed or played with so I didn't worry about using fabric paints. I just hand painted on the letters. Now, I bet you are thinking "Kerry, why didn't you paint the letters first, then sew them into the bias tape?" Well, if I did, there would be a chance I wasn't paying close enough attention and I would mix up the order of letters, then I would have to get out my seem ripper and destroy my bias tape. Just do it this way, it works. And ya know what is good about plain old acrylics? They dry in about 20mins!!


totallycloseup1

twistedcloseup1


Hang it and enjoy!!

Besure to let me know if you bust up your fabric stash and give this a try. And remember, I just threw this together so typos and grammar errors are not my fault. Well, actually, they are my fault... I typed 'em... but hey, it is a free tutorial. Beggers can't be choosers.

Have fun!

Sunday, January 04, 2009

Hot Off The Press

I had a pleasent surprise in the mail the other day . I was flipping through the latest issue of Stringing Magazine and discovered that the beads I sent to them last winter for their "Beads To Buy" spot were used in a bracelet in the current issue.

The thing I like about Stringing is all different designs they share doing such a basic thing like stringing. Very Cool. There are loads of necklaces to inspire your own designs... with earrings and bracelets too.

Friday, January 02, 2009

Gifts Revealed


I know, I am late to blogging today. Sorry, I went into a psychotic cleaning mode and couldn't stop! I am talking floors washed, stairs vacuumed, baseboards washed, stuff's dusted, and yeah, I even tackled the basement. There were saw horses up (from the kitchen remodel), boxes every where, paint cans in odd places, and OH MY STARS... the floor! It so totally needed to have the shopvac run over it. I am just now sitting down and relaxing with a round of bowling on Wii with Ron, Jacob and Lauren. Calling me a multi-tasking Momma... I Wii bowl and blog... at the same time. I am good.

I was sorta at a loss for what to write about today. Then it hit me... I never showed you guys some of the secret Christmas goodies I made and gifted. The top one was a hat I made for my Mom. The yarn is Berreco Peruvia and the pattern is called "Robin's Egg Blue Hat". My Mom loves to gush to her friends at the YMCA in the water walking class she takes about what I do. Only problem is, she doesn't wear my jewelry. She doesn't wear any jewelry really. I thought this hat would be perfect with one of my beads. Now she has a bead to show off to her friends!


So, um, yeah, my sister's gift is only half done. But she understands. There are "Super Easy Leg Warmers" from the book Last Minute Knitted Gifts. The yarn is "Dream In Color", my absolute favorite. They have colorways that make my mouth water. I actually just ordered up some of their "fatty" sized yarn for a new sweater for myself. YUM! What I love about these is the length. They are supposed to be 26ins long, but I cast off around 22in. Still plenty long at that length! Just long enough to slip over your heel and keep some of your foot warm.


This is another sister gift. This time, a cowl. The Dolores Park Cowl to be exact, with some modifications. The yarn is Misti International Alpaca and is some of the softest yarn I have ever had the pleasure of working with. And again... yum yum yummy colors. It was a super fast knit and that worked because I couldn't give her two unfinished gifts. HA!